Virtual glasses try on lets you preview frames on your own face before buying or visiting a store. Instead of guessing from a product photo, you can upload a selfie and compare different shapes, colors, and sizes directly on your face. That matters more than most people expect. Glasses sit right in the middle of your face. They change how your eyes look, how wide your cheeks feel, and whether your whole face reads sharper or softer. A frame can look great on a model and still look completely off on you.
Use this page as a checklist. It covers what virtual try-on can tell you, what it cannot tell you, and the small fit details worth checking before you pick a pair.
1. What virtual glasses try-on actually does
Virtual glasses try-on is best for checking visual proportion. You can see whether a frame looks too wide, too heavy, too pale, or too round for your face before you order anything. It will not replace an eye exam or judge long-term comfort, but it helps you rule out the obvious misses.
2. How TryBestSpecs handles the try-on
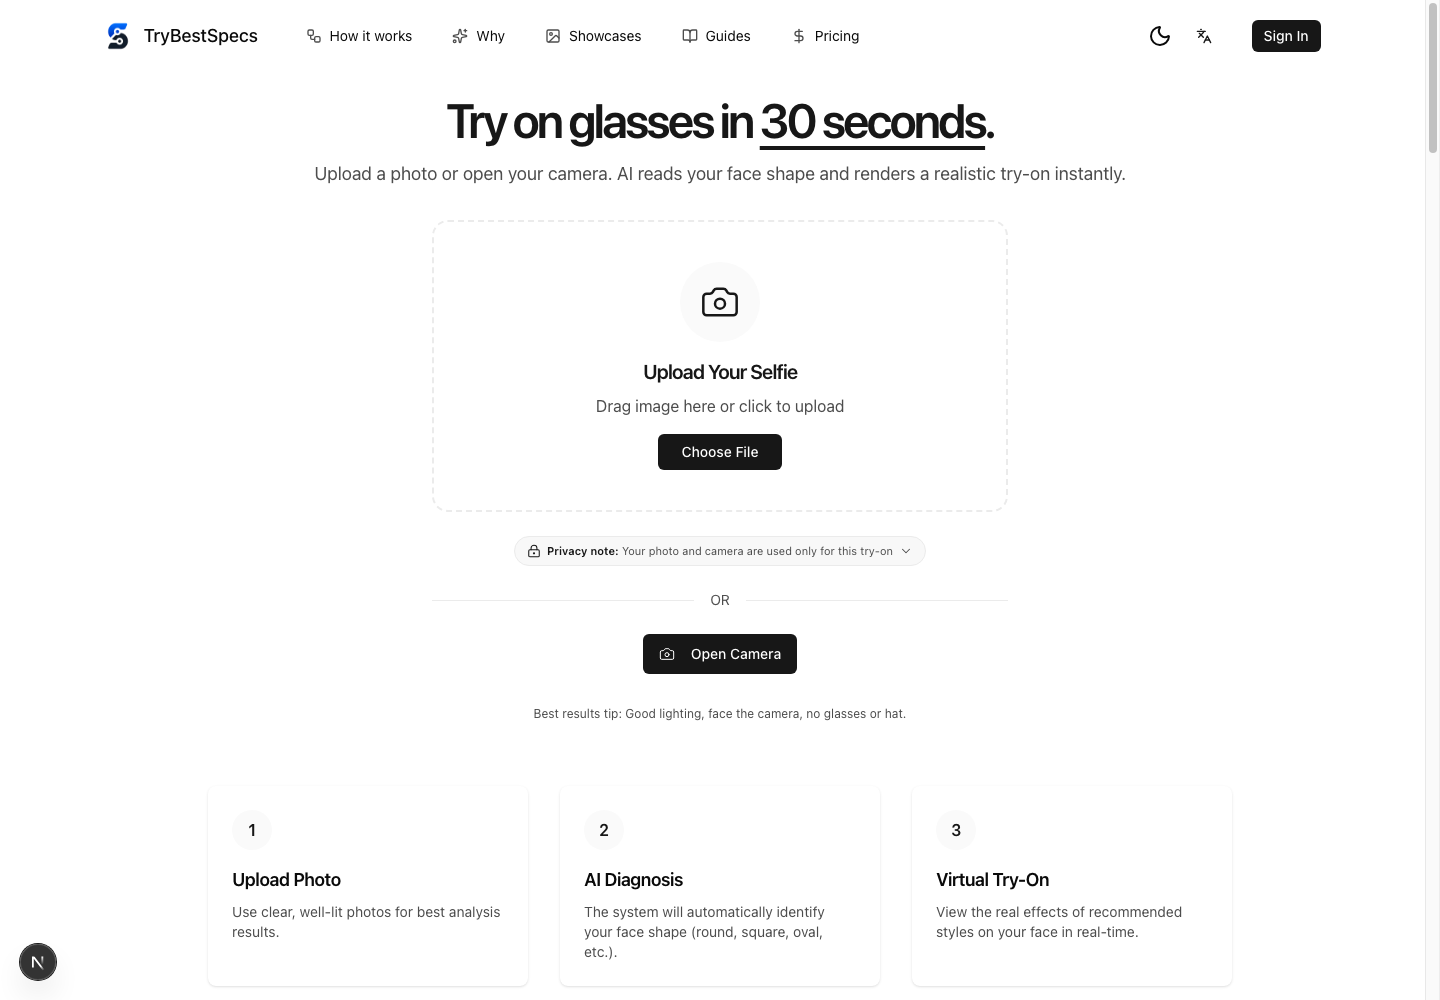
The flow is simple:
1. Upload a clear front-facing photo or open your camera.
2. The AI reads face position, facial proportions, and overall balance.
3. TryBestSpecs suggests frame styles that fit your face shape and skin tone.
4. You compare the results and save the ones worth coming back to.
Most virtual try-on tools start with facial landmarks. The process usually works like this:
1. The tool finds points around your eyes, nose bridge, cheeks, and temples.
2. It places the frame around those points.
3. It adjusts the frame scale so the glasses sit closer to your real face proportions.
The better tools also care about face shape and scale. A rectangular frame on a round face should not be judged the same way as a round frame on a square face.
3. A real try-on example: round face, rectangular frames
In one TryBestSpecs test, we compared the same round-face portrait in three states: no glasses, round frames, and black rectangular frames. The round frames made the face feel softer, but they also repeated the roundness that was already there. The rectangular frames added a cleaner line around the eyes, so the face looked more defined without feeling heavy.
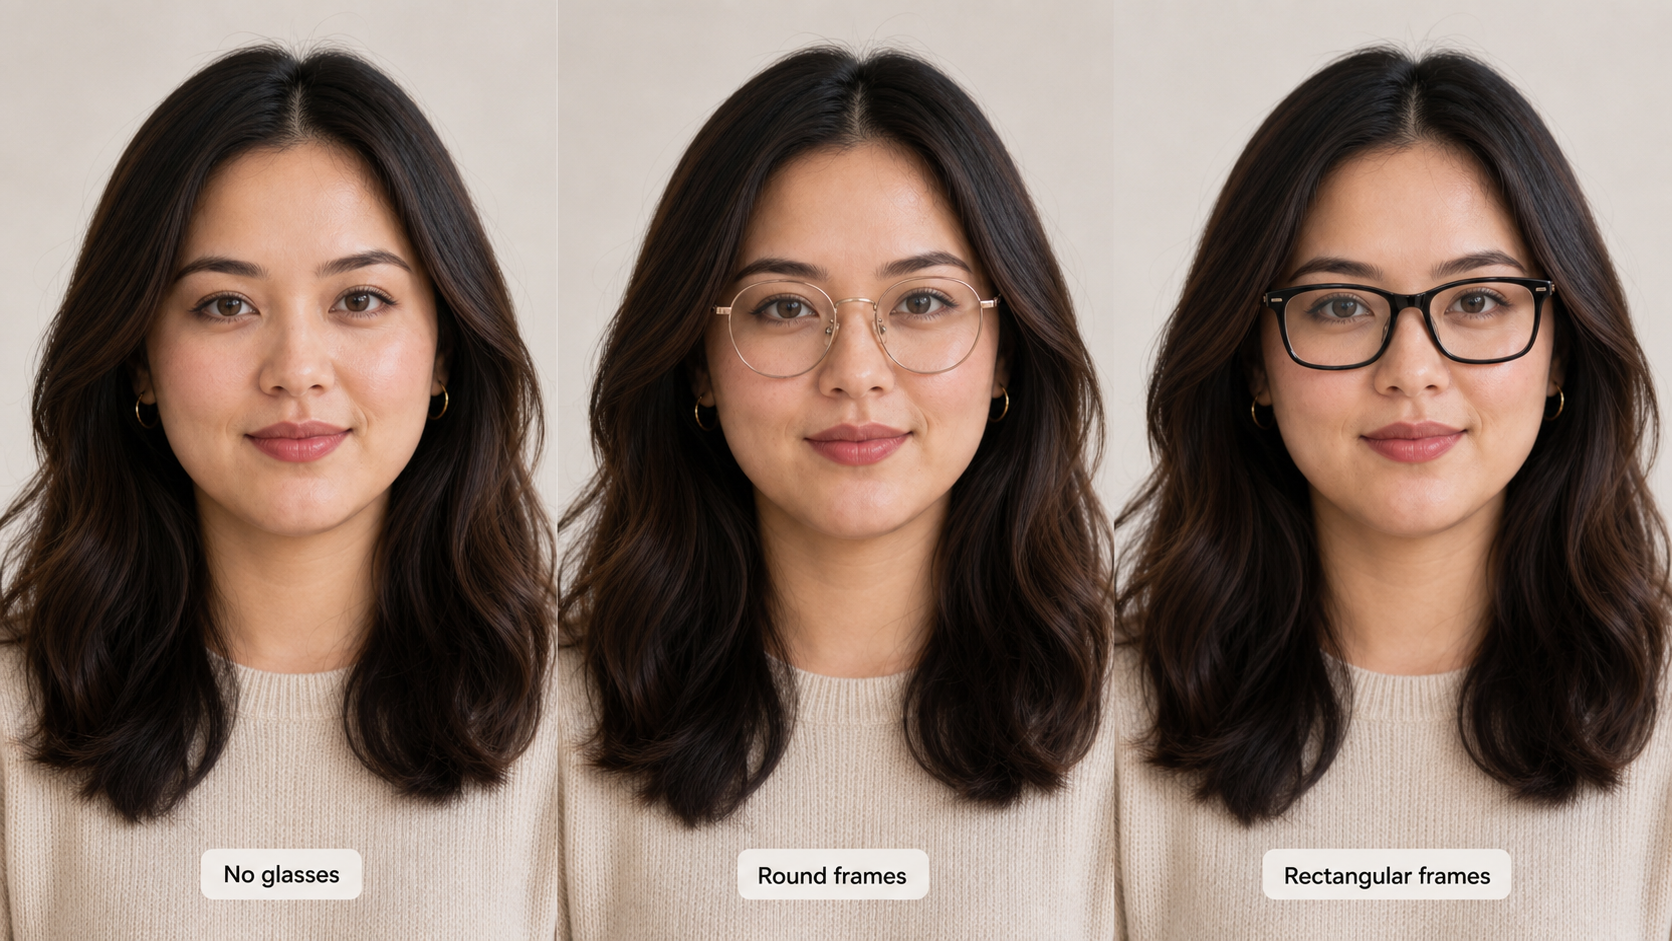
That is the kind of thing you want to notice in a try-on result, not just whether the frame looks trendy. If your face has soft cheek lines, start with rectangular or slightly angular frames before you try round ones. Compare everything on the same photo. Otherwise you end up judging the lighting, the model, or the product image instead of the frame.
4. What to check in a try-on result
Do not stop at "do I like this?" That is too vague. Look at the fit clues.
| Check item | Good result | Warning sign |
|---|---|---|
| Frame width | Frame is close to your temple width | Frame extends far beyond your face |
| Eye position | Eyes sit near the center of each lens | Eyes sit too high, low, or close to the edge |
| Bridge fit | Frame sits naturally on the nose bridge | Frame looks too low or floats above the nose |
| Face balance | Frame shape balances your face shape | Frame repeats the same face shape too strongly |
| Color contrast | Frame color works with your skin tone | Frame looks too harsh or disappears visually |
Use this checking order:
1. Start with width. Your eyes should sit near the center of each lens, and the frame should not stretch far past your temples.
2. Look at shape. Round faces often need more angles. Square faces often look better with round or oval frames.
3. Check depth and top weight. Long faces usually need a deeper frame. Heart-shaped faces tend to look better when the top of the frame is not too heavy.
5. Frames worth trying first
Start broad. Once you know which family works, then get picky about color, material, and details.
| Frame style | Best for | Try-on tip |
|---|---|---|
| Rectangular frames | Round or soft face shapes | Check whether the top line adds definition |
| Round frames | Square or angular faces | Make sure they do not look too small |
| Clear frames | Low-contrast everyday style | Check if they disappear against your skin tone |
| Thin metal frames | Minimal, lightweight looks | Check bridge position carefully |
| Aviator frames | Longer or oval faces | Avoid oversized lenses if your face is small |
After that, try cat-eye, browline, rimless, oversized, tortoise, or black acetate frames.
6. Common mistakes when trying glasses online
6.1 Choosing frames only by style
A frame can look good in a product photo and still look wrong on your face. Use the try-on to check proportion, not just style.
6.2 Ignoring frame width
Frame width is one of the most important details. If the frame is much wider than your temples, it can make the result look unrealistic. If it is too narrow, your face may look wider than it is.
6.3 Comparing only one frame
One frame does not tell you much. Use the same selfie for a few strong contrasts:
1. Rectangular versus round, to see which shape balances your face.
2. Dark versus light, to see whether the color feels too heavy or too faint.
3. Slightly wider versus slightly narrower, to check whether your eyes still sit near the lens center.
6.4 Using a poor photo
A tilted photo, strong shadow, hat, or existing glasses can make the try-on result harder to judge. Use a clear front-facing photo with both eyes visible.
7. How accurate is virtual glasses try-on?
It depends on what you are judging. For appearance and face balance, it is useful. For nose pressure, temple tightness, lens thickness, and all-day comfort, it is not enough. Check real frame measurements before buying prescription glasses.
8. Try glasses online
Use TryBestSpecs to upload a photo and filter out the obvious misses first:
1. Remove frames that clearly look too wide, too heavy, too pale, or too narrow.
2. Compare the strongest options on the same photo.
3. Check real frame measurements before buying.
Try Glasses on Your Face Online →
9. FAQ
9.1 Can I try glasses online without an app?
Yes. TryBestSpecs works in the browser, so you can upload a photo and preview frames without downloading anything.
9.2 What photo should I use for virtual glasses try-on?
Use a clear front-facing photo with good lighting. Avoid hats, strong shadows, tilted angles, and existing glasses when you can.
9.3 How should I compare frames first?
Start with big contrasts: rectangular versus round, dark versus light, wider versus narrower. Once the direction is clear, compare colors and materials.